Cannabis coconut oil is fast gaining popularity due to its versatility and potency. Since it complements well with most strains, it also makes medicating very easy. Indeed, it is by far the best extraction medium for weed.
Compared to butter and other kinds of oil, it has the highest concentration of fatty acids, making it absorb more THC and other cannabinoids. As such, it makes for a stronger binding agent that results in more potent health effects.
By itself, coconut oil is teeming with potential health benefits. In fact, its fatty acids help in digestion and in warding off bacterial infections. Because of these, it is the top choice as the healthier alternative for butter and canola oil.
Another benefit of cannabis-infused coco oil is that it stays solid at room temperature. So, we can make topical products out of it. This quality makes it an ideal method for delivering medicinal cannabinoids. When it comes to flavor, the subtle taste of coconut oil blends well with most recipes including drinks. So, how do we make this healthy and delicious weed infusion?
While making cannabis coco oil may sound tricky, this article will cover the easiest way to do it. Essentially, we will learn to use inexpensive ingredients and spend minimal effort to make a tasty and fancy canna oil that we can use for any meal and snack.
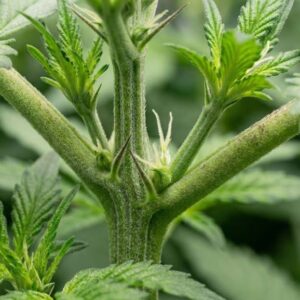
Grow your own plants so you can always have enough cannabis coconut oil! Download my free Grow Bible for all the grow info you need.
How to Make Cannabis-Infused Coconut Oil

The cooking process involves decarboxylating the weed and simmering it in the oil for several hours. Much like making cannabutter, it also requires occasional stirring and setting the product to harden. So, for best results, be patient and thorough when making this product.
Equipment
- Cheesecloth
- Metal strainer/sieve
- Bowl or large measuring cup
- Jar with tight lid to store the canna oil
- Double-boiler, slow cooker or saucepan
Ingredients
1 cup of water
To prevent the weed from burning, add water as needed. This component also makes sure that the cannabinoids stay in the oil and not evaporate during the cooking process.
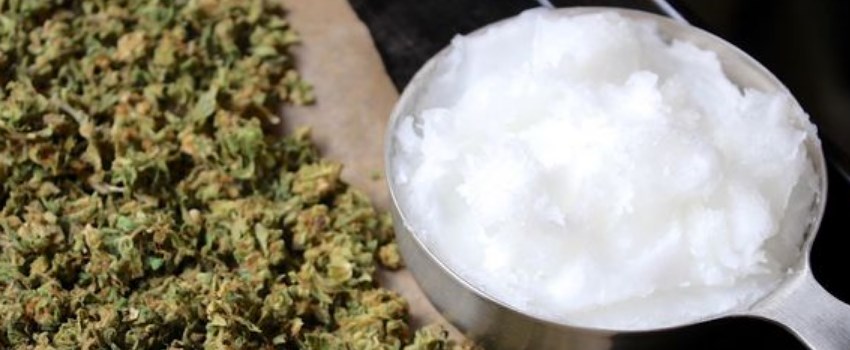
1 cup of coconut oil
Unrefined coconut oil has more natural properties and is unadulterated with bleaching chemicals. Therefore, choose this type of oil for more health benefits. However, expect that the flavor of coconut will creep into the edibles.
1 cup of ground weed
Leaves can also be used but make sure to pick the ones closest to the flower for a higher potency. Also, we can adjust the dose by increasing or decreasing the amount of cannabis. Most importantly, don’t forget to decarboxylate the weed. Learn how to do this in the section below.
Decarboxylating
Before cooking or making tinctures, it is crucial to decarb the weed first. Basically, it is much like smoking a joint which involves burning to activate the THC content. This process makes it safer and unleashes more of its effects. Therefore, we must do this before cooking any marijuana edibles.
Decarbing the weed is easy. Simply ground dry weed and spread on a baking sheet, then bake at 220 degrees Fahrenheit or 150 degrees Celsius for 30 minutes. Add 3o minutes more if using fresh weed.
Directions
Now that we have a decarboxylated weed, it’s ready for cooking. Here are three quick and easy steps to making this special cannabis coco oil.
Step 1: Combine in Low Heat
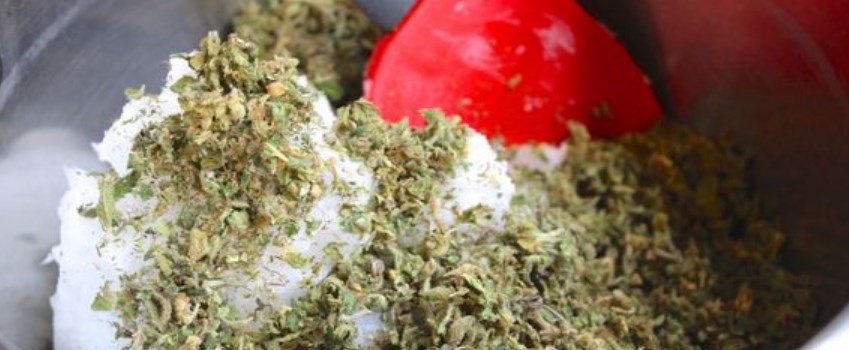
Simply combine the coco oil and decarboxylated weed in low heat. The goal of simmering is to activate more THC and bind it with the fats. There are many methods in doing this step. We can use a slow cooker and simmer it for 4 to 6 hours. There’s also the double-boiler that requires at least 6 hours. Finally, a simple saucepan will take only 2 to 3 hours to cook.
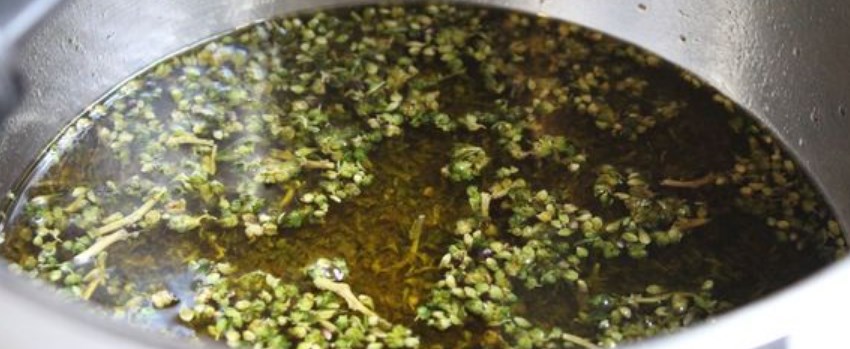
Some canna oil enthusiasts say that simmering for 45 minutes to 1 hour is enough. Given that we have decarbed the weed beforehand, this is not such a bad idea. Whatever method we choose, maintain the temperature at 245 degrees Fahrenheit to prevent scorching the weed. Another way to prevent burning is to add water as needed and occasionally stirring the oil.
Step 2: Strain the Oil
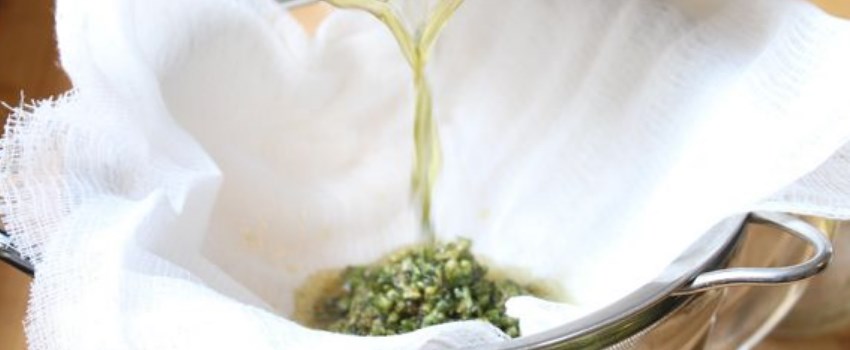
Once the product is ready, carefully filter it using the cheesecloth on top of a strainer. Some people prefer not to squeeze the remaining fluid to avoid the bitter taste of chlorophyll. We can discard what is left in the cloth since it no longer has any usable THC.

Once the product is strained, we can see that it is tinged with vibrant green color. However, this is only the chlorophyll and it does not indicate the level of potency.
Step 3: Store it

Unlike cannabutter that needs refrigeration, simply let the canna oil sit at room temperature to harden. While hot, leave it open to evaporate, then cover it once it gets cold. Using a jar with tight lid, or by simply wrapping it in plastic, the product can last longer than 2 months when refrigerated.
Using

This special canna oil works best as a substitute for butter. Therefore, there’s an unlimited list of recipes that we can cook it with.
One important aspect of canna oil is gauging the dose especially when it’s the first time using it. To start, try ¼ to ½ tablespoon and wait for at least 3 to 4 hours before consuming more. How our body reacts after this is the baseline for adjusting the dose.
Cannabis Coconut Oil is a Versatile and Healthy Product
To get the most out of cannabis, we highly recommended using coconut oil as the medium for extraction. In this way, we can make various products that have high potency and rich in health benefits. Additionally, it is relatively easy to make and it can last for a long time when stored properly.
So, when deciding to make edibles, why not start with this one? Aside from all the health benefits we can reap, it’s delicious and goes well with most ingredients. With practice and patience, we can develop the skill to make the best version of cannabis coconut oil.